
This week the Raspberry Pi that I have been running Home Assistant on for the last two and a half years died! However, I've successfully managed to migrate my Home Assistant setup from my Raspberry Pi to a small NUC computer without having to rebuild my entire Home Assistant setup. This blog post explains the steps I went through, in case anyone else has the same unfortunate experience or wants to know what to expect from migrating from a Raspberry Pi to an NUC.
Beware of SD Cards
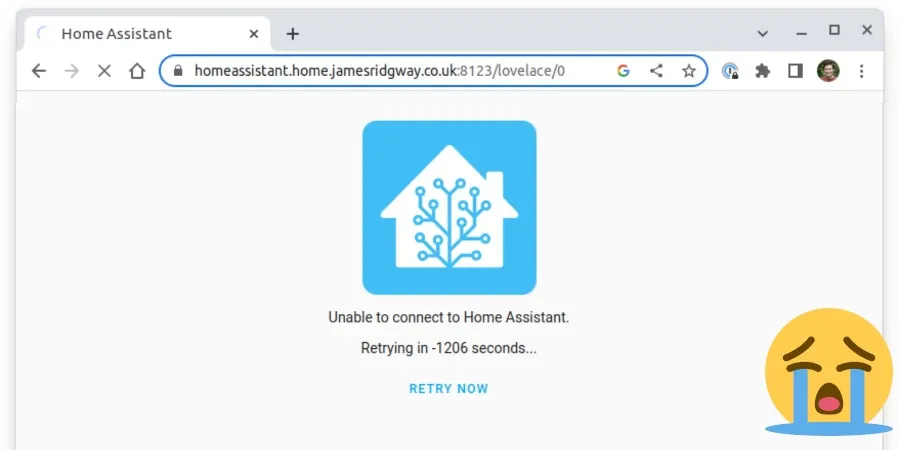
I've been running the Raspberry Pi off a MicroSD card which has finally failed. I knew this was a risk when I started with Home Assistant, but I put this to the back of my mind as something I would deal with at some point. That "some point" has finally caught up with me:
— James Ridgway (@james_ridgway) April 29, 2023
Whilst MicroSD cards are a fast and convenient boot medium for a Raspberry Pi, they are prone to failure when they're being used for something like running an operating system or Home Assistant. SD cards often lack capabilities such as wear leveling that exist in other flash technologies such as SSDs.
Take a backup!
From day one of using Home Assistant, I've had my setup configured to create backups regularly. By default, Home Assistant will create and store the backups locally, which in my case, means storing them on the SD card.
Fortunately, about a month ago, I started using the Home Assistant Google Drive Backup addon to automatically upload my backups to Google Drive, which has helped me narrowly avoid an awkward situation:
If you don't keep external copies of your Home Assistant backups, I'd recommend stopping what you're doing and setting up something like Home Assistant Google Drive Backup. It takes minutes to set up and could save you a heap of time if the worst case happens.
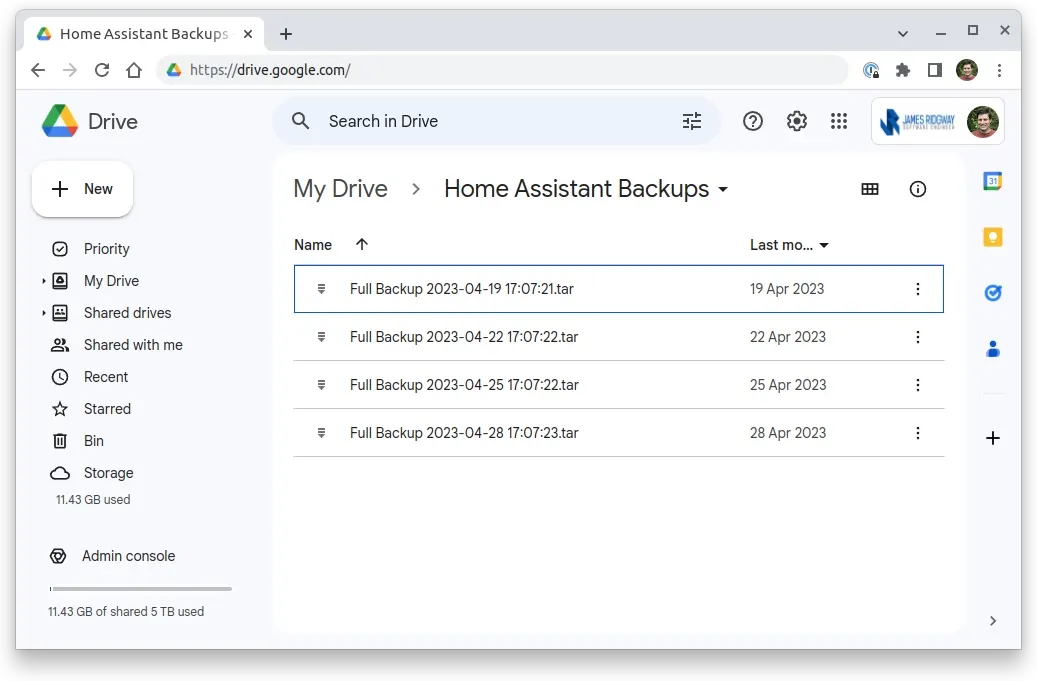
Fortunately, I have the last four backups on Google Drive to pick from:
Surviving without Home Assistant
Whilst the SD Card failing has caused an outage of Home Assistant for us, the disruption has been limited. For the most part, this is intentional because I've tried to add automations and smart home tech in a way so that if there is ever a failure or Home Assistant goes down, the house should mostly still function as you'd expect.
At the moment, we have a limited set of issues:
- Our ensuite light switch cannot turn on or off the ensuite lights without Home Assistant. So for the moment, we're forced to use the Philips Hue app to control the ensuite lights
- The Sonoff NSPanel in our bedroom has lost connectivity with Home Assistant, so the screen always stays on. I've had to cover it up with a towel when we go to bed as it is otherwise quite bright.
None of these issues are particularly major, as we have workarounds. However, Home Assistant has become a rather important part of the day-to-day functioning of our home over the last two and a half years; Home Assistant being online and reliable does make our lives easier.
As a result, I will take this opportunity to ditch the old Raspberry Pi and migrate to a NUC.
Replacing a Raspberry Pi with a NUC
If we ignore the reliability issues with SD cards, I'd otherwise be happy running Home Assistant on a Raspberry Pi.
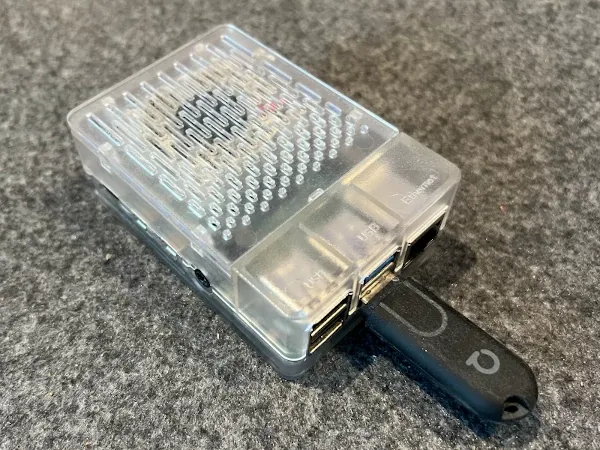
Replacing one failed SD card with another feels like a short-term solution. So if I'm going to replace the storage with something else, I might as well go with something with a bit more power and upgrade to a NUC:
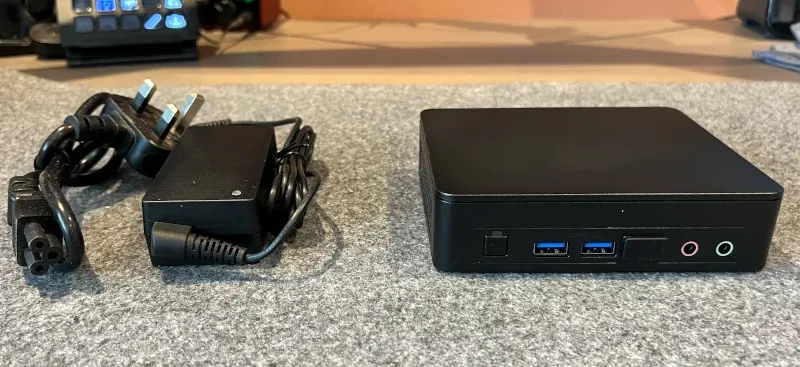
This is a small NUC computer that I picked up fairly cheaply. It has a 4-core 11th Gen Intel Celeron N5105, 8GB RAM and a 256GB SSD. The SSD is plenty more than what I need, but it was the cheapest option out there at the time that was readily available.
The first step in the process is to get Home Assistant installed on the NUC.
Installing Home Assistant
The Home Assistant website provides a guide for Installing the Home Assistant Operating System. I won't duplicate the installation steps here, but I will summarise the broad outline.
- Home Assistant provides the OS image as an
imgfile that can be flashed with something like Balena Etcher. - You will need to boot into a bootable OS such as Ubuntu on your NUC and then use Balena Etcher to flash the SSD of the NUC device with the Home Assistant OS image.
I found it was useful to have two USB memory sticks to hand; one for booting into Ubuntu from as a live OS, and the other for storing a download of the Home Assistant OS img file.
Once the img file has been flashed with Balena Etcher you can reboot your NUC, and the device will boot up the Home Assistant OS for the first time.
When Home Assistant first boots, it will need a few minutes to finish preparing.

Restoring the Backup
Once Home Assistant has finished preparing, you will be taken through to the initial setup screen:
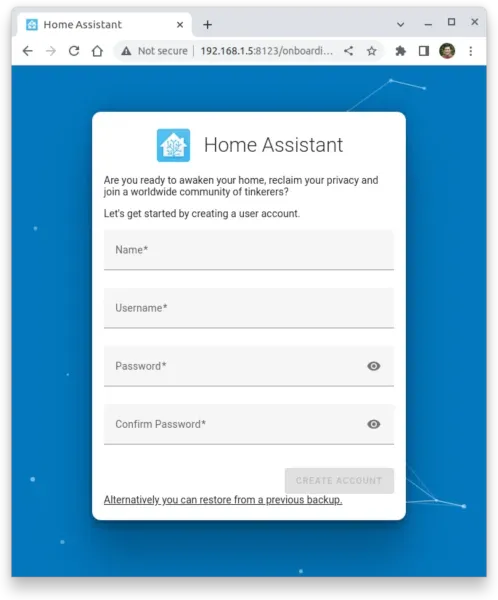
At the bottom of the screen, click the link to restore from a backup. This will then let you upload a backup file, and select to perform either a full or partial restore. I opted for a full restore.
Once the backup process had finished uploading and processing the file, it was unclear if the backup restore had failed as I was still on the onboarding screen, and nothing seemed to be happening.
I had the NUC plugged into a monitor, keyboard and mouse so opted to run the following from the ha > prompt:
core stop
core start
Home Assistant then came up after a few seconds, and I was presented with the login screen for Home Assistant. I tried the username and password that I used on my Raspberry Pi, and I was in!
It looked like the backup restoration had worked; I could see my dashboard, and most things appeared to be working. Although, upon closer inspection, there were a few things that weren't quite working that I had to investigate and fix.
Repairing Supervisor
The most worrying issue was that supervisor didn't appear to be working. The Addon section of Home Assistant would load a blank page, and I could see the following error in the logs:
Error setting up entry Supervisor for hassioThis took a bit of Googling and digging around but running: su repair from the ha > prompt followed by rebooting the entire NUC device repaired the supervisor setup.
Note that if you're accessing Home Assistant over SSH you may need to run ha su repair. I'm logged in directly to HA which provides a ha > prompt so I don't need to prefix commands with ha.
Not Everything Was Restored
Now that supervisor was working, and I could get to the Addons section, I could see that only some of the addons I had been using had been successfully restored.
For some reason, AppDaemon and Mosquito hadn't been restored. The backup has restored all of my AppDaemon apps, but not the AppDaemon application itself.
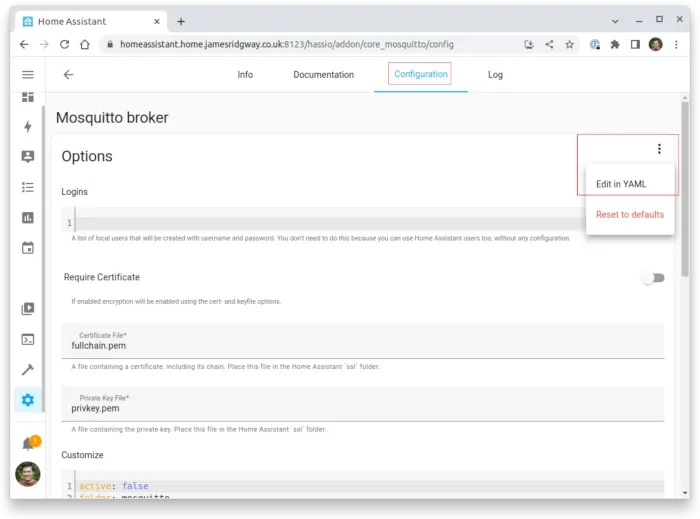
For both of these Addons, I then installed them from scratch. I wanted to configure both addons to work exactly as they did on my Raspberry Pi. I had a look in the backup file I had downloaded from my Google Drive to see if there was any configuration that I could salvage.
The backup file is a single tar file that contains other .tar.gz files. I found that my backup contained a a0d7b954_appdaemon.tar.gz and a core_mosquitto.tar.gz. Both of these archives contained a data/options.json file which I could convert into YAML and paste into the configuration section for each of the addons.

Remove the Raspberry Pi Integration
The final thing I had to do is remove the Raspberry Pi Power Supply Checker integration which had been restored as part of restoring the backup, but now that I'm using a NUC rather than a Pi the integration errors and is no longer needed.
Conclusion
Home Assistant is now back online and running from a NUC! The process was relatively straightforward, albeit daunting, because I wasn't sure if restoring the backup was going to work as expected.
I found that you can restore Home Assistant from a backup, and it works well, even if you're changing the underlying hardware from a Raspberry Pi to a NUC. In my particular circumstances, there were a few teething issues to sort out as a few things didn't get restored properly, but 95% (or more) of my Home Assistant setup was restored without issue.
I had Home Assistant fully migrated and functioning in around an hour and a half. I would have done this quicker if I had realised that rebooting the entire OS was needed after running su repair for the changes to take effect.
Whilst I would have preferred avoiding this whole experience entirely, the NUC is much more powerful than the Raspberry Pi, and Home Assistant is a fair bit more responsive as a result – I don't have any hard metrics to back up this anecdotal claim as the death of the SD card was somewhat unplanned.
If you don't already have backups enabled in Home Assistant and aren't uploading them somewhere external, take 5 minutes to go and fix that! I hate to think how much time I would have spent rebuilding my Home Assistant setup from scratch. I've blogged about most of my home automation which I could use a reference guide, but even still, I hate to thing how much time I would have spent getting everything re-configured from scratch.
