
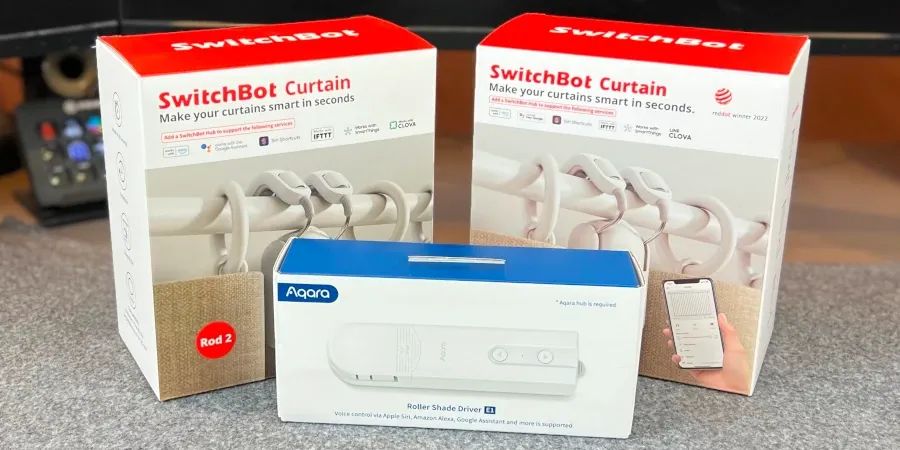
I often have ideas for home automation projects, but realising those ideas is another thing. One of the ideas I've had for a while is automating the curtains and blinds in my office. I've finally achieved this using SwitchBot Curtain Rod 2 and Aqara Roller Shade Driver E1. This post will explain the rationale behind the choice and how I've got everything working.
Automating Blinds
When I first started playing with Home Assistant in November 2020, one of the first things I set up was an automation for our Kitchen Blind. I didn't go into the details of this in the original blog post, but I used an Ajax Online Blind Engine Motor to automate our existing kitchen roller blind.
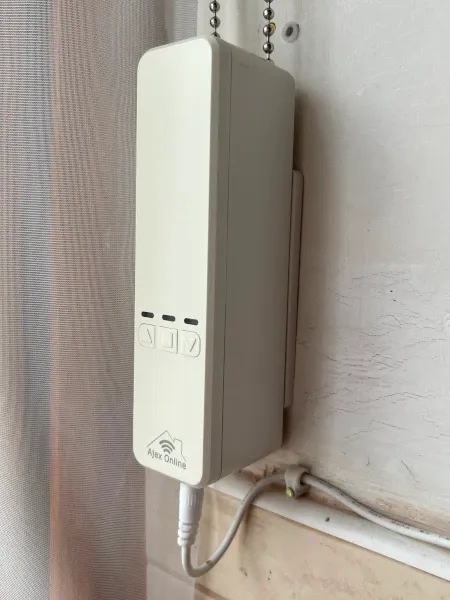
The Ajax Online Blind Engine has worked absolutely fine, but it has two main drawbacks:
- It's quite pricey, with an RRP of £109
- It is mains powered without a battery or solar panel option
So, when it came to the blinds, I wanted to experiment with what other options were available, as it's been over 2.5 years since the kitchen blind was automated. SwitchBot doesn't do a product for roller blinds, so instead, I opted for an Aqara Roller Shade Driver E1, which has a rechargeable battery and, at £59, is just short of half the price of the Ajax Online Blind Engine.
What's in the box?
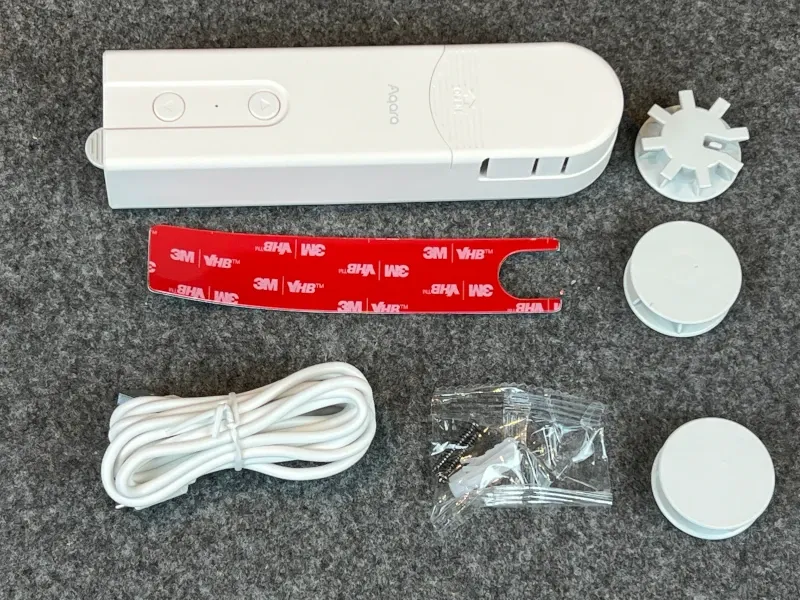
The Aqara Roller Shade Driver E1 comes with the following:
- The Driver device
- Three different cog adapters that can be used for different bead chains
- Charging cable
- 3M tape for fixing with adhesive
- Screws and plugs for fixing with screw
Installing the Aqara Roller Shade Driver E1
There are two choices for mounting the E1. You can use the 3M tape or the screws and plugs for a more permanent fixing. I opted to use the screws and plugs:
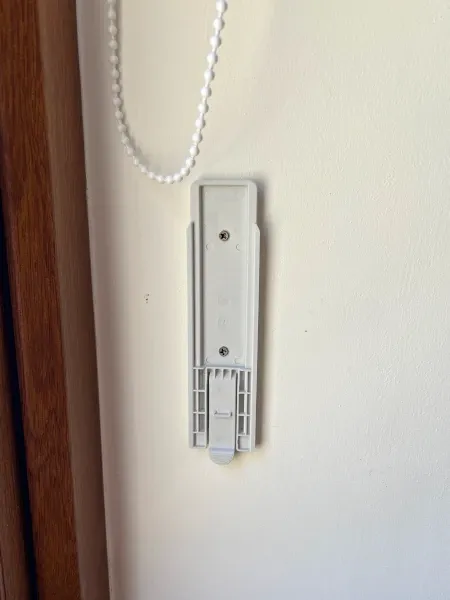
With the base plate fixed to the wall, the driver can now be slid onto the base plate bracket:
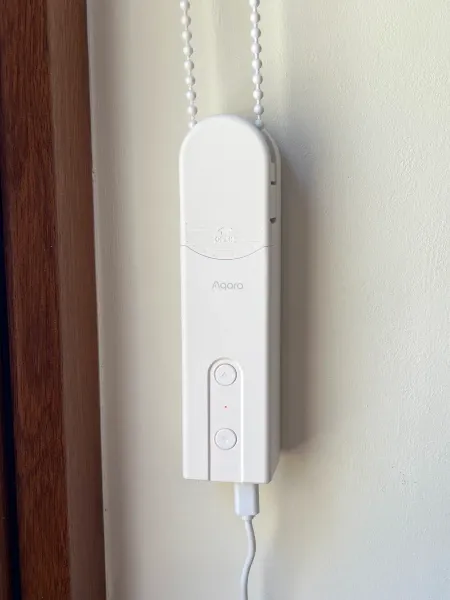
Mounting the driver on the wall only took a few minutes. Because the E1 has a battery built-in, you have the choice of either using it mains-powered or charging the battery and using it without any cables on show. I've opted to charge the device and use the battery, which should last two months before it needs to be charged again.
The driver now needs to be programmed to know what the fully-opened and fully-closed positions of the blinds are:
- Use the up and down buttons to adjust the blind to the fully-opened position
- Press the up button quickly five times to save the fully-opened position
- Use the up and down buttons to adjust the blind to the fully-closed position
- Press the down button quickly five times to save the fully-closed position
With that done, the E1 is now programmed to know the opened and closed position of the blinds! A single press of the up button will open the blinds, and a single press of the down button will close the blinds.
Pairing the Aqara Roller Shade Driver E1
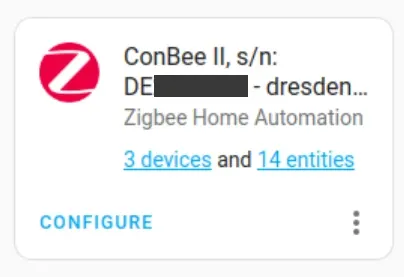
According to the packaging, the Aqara device uses Zigbee and requires the Aqara smart hub to control it. Fortunately, I'm familiar with Aqara products as I used their motion and door sensors extensively in my original Home Assistant setup. I use a ConBee II Zigbee Gateway with the Raspberry Pi that runs Home Assistant. With the ConBee II, I can pair Aqara devices directly with the ConBee II gateway.
Within Home Assistant, I am using ZHA (Zigbee Home Automation):
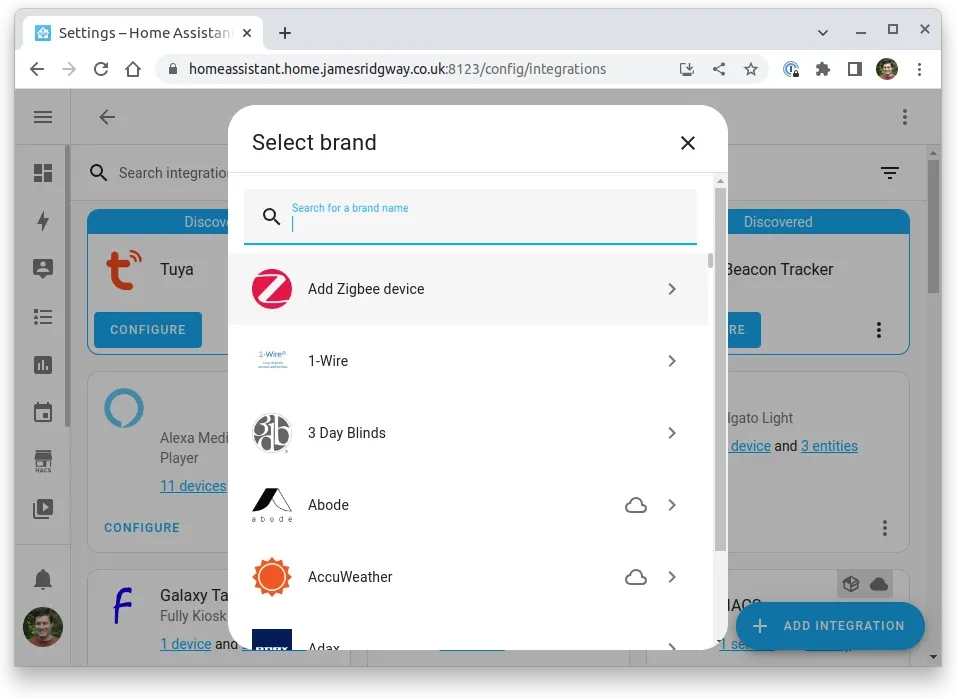
To pair the device, select Add Zigbee Device from the list of integrations.
When you are on the pairing screen:
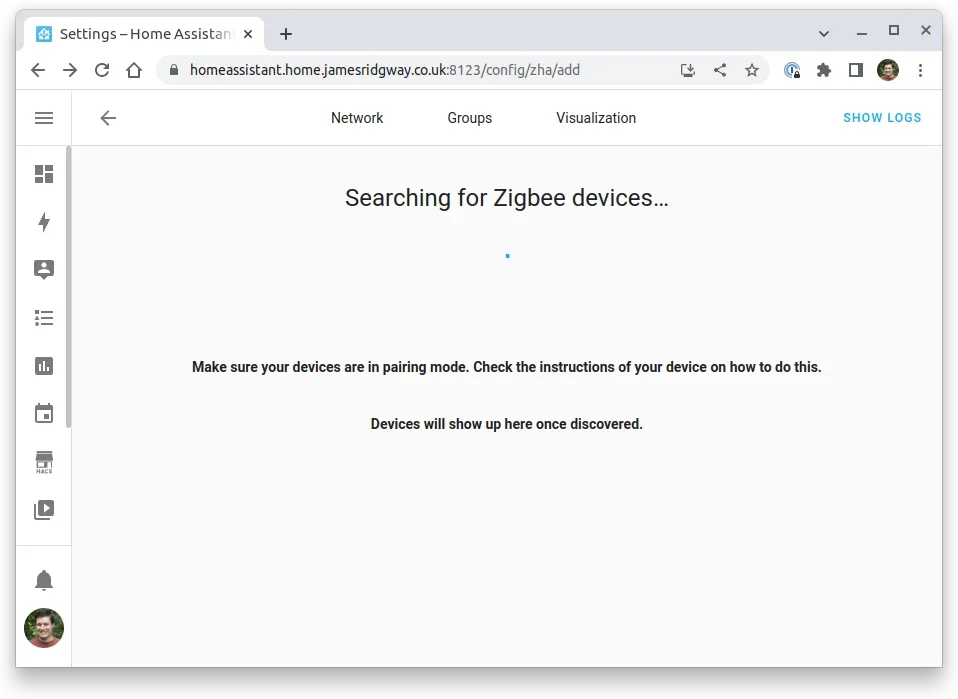
Press and hold the pairing button on the bottom of the device until the blue light starts blinking. The device will then pop up in Zigbee Home Automation and complete the process.
You will now have an Aqara Roller Shade Driver E1 device within Home Assistant that you can fully control:

With the blinds set up and working, the next step is to automate the curtains!
Automating Curtains
I am using a pair of SwitchBot Curtain Rod 2 devices to automate the curtains. In the box for each Curtain Rod 2, you get:
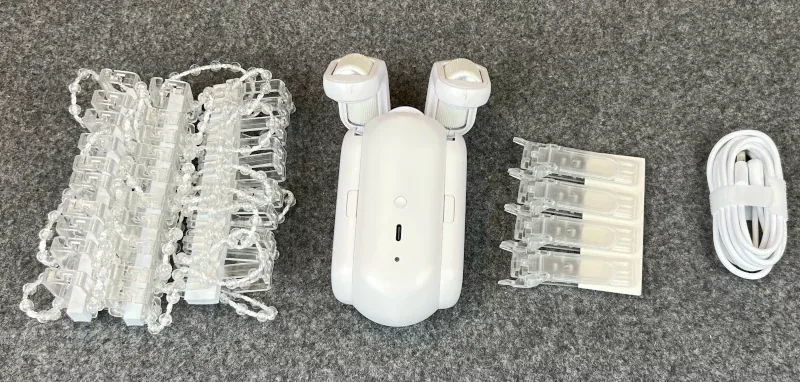
- Bead fixings
- The Curtain Rod 2 device
- Curtain Clips
- USB C Charging Cable
The Curtain Rod 2, like the Aqara Shade Driver, is battery-powered and should last up to eight months on a single charge. SwitchBot also has a solar panel accessory that can be purchased separately.
Installing the Curtain Rod 2 is equally as straightforward as the Aqara Shade Driver, although I did find the process more time-consuming as I had to adjust the Bead fixings, which is a bit tedious.
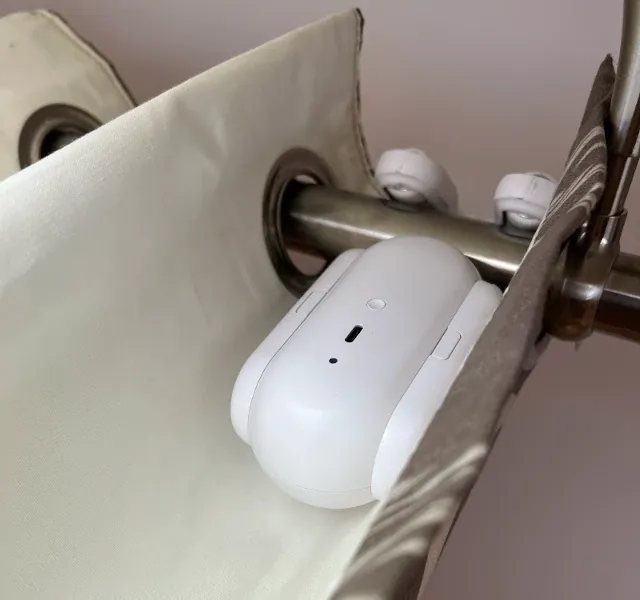
The Curtain Rod 2 is designed to clamp itself to the curtain rod. The device is placed between the first and second ring of your curtain so that when it moves along the rod, it pulls or pushes the rest of the curtain with it:
For my style of curtain, I didn't need the curtain clips, but I did use the bead fixings to reduce the friction of the curtain on the rod.
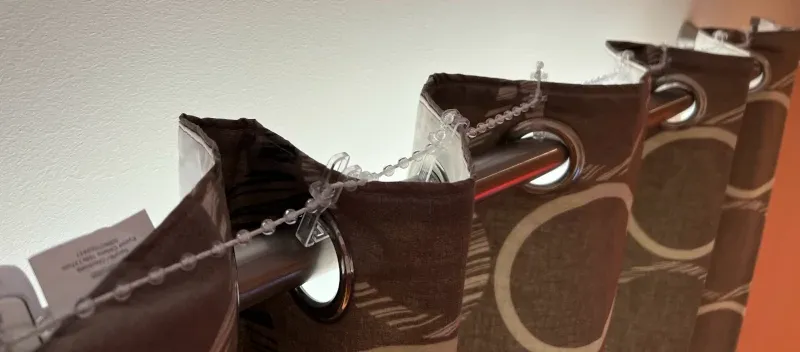
The bead fixings attach to the top of the curtain ring and provide tension from one curtain ring to another. This reduces the friction of the curtain on the pole when the curtain rod is closing the curtain.
I had to adjust the spacing between the plastic clips to suit the particular curtain I was using. This was a bit tedious and arguably the longest part of the process, but everything worked smoothly once installed.
Once the device is installed, you will need the SwitchBot app to calibrate the open and closed position of the curtain in a similar way that we did for the Aqara Shade Driver. Download and install the app and follow the pairing and calibration process within the app.
With the Curtain Rod 2 installed and calibrated, we can now integrate the Curtain Rod 2 with Home Assistant!
Curtain Rod 2 Home Assistant Integration
The only reliable way to integrate with SwitchBot devices in Home Assistant is over Bluetooth. I've previously tried to control SwitchBot devices using the API and a Hub Mini, but this proved unreliable.
Your device that runs Home Assistant will need to have a Bluetooth adapter, and an integration will need to exist within Home Assistant:
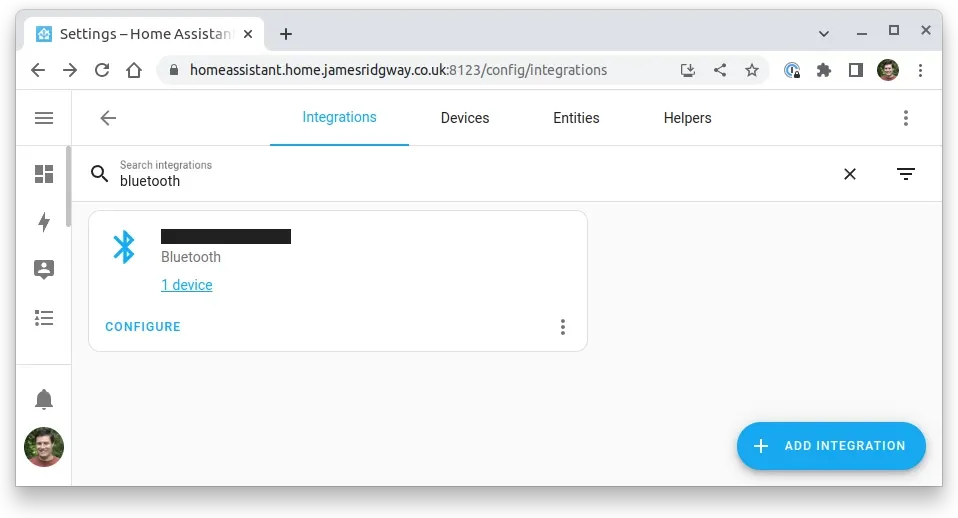
If this is your first time using Bluetooth in Home Assistant, you will need to add the integration via the Add Integration button.
Once Bluetooth is configured, add a SwitchBot integration:
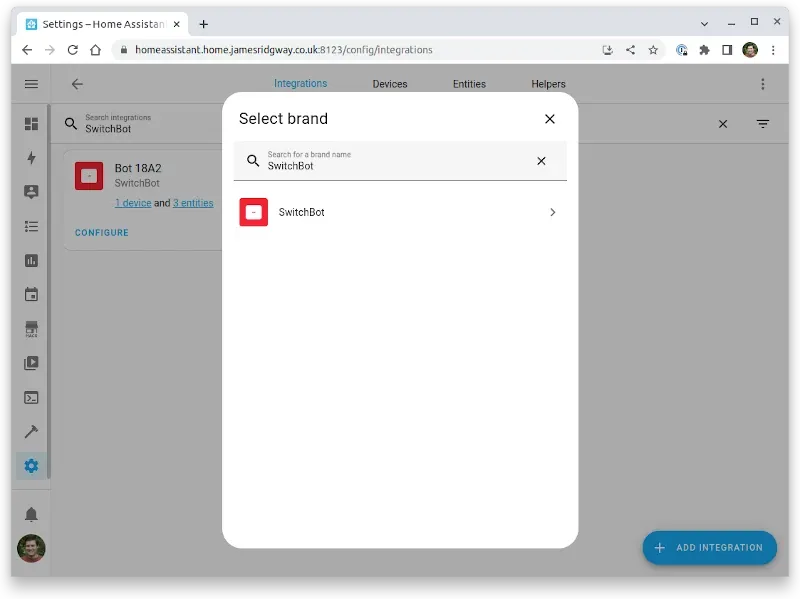
Select the device that you want to add to Home Assistant:
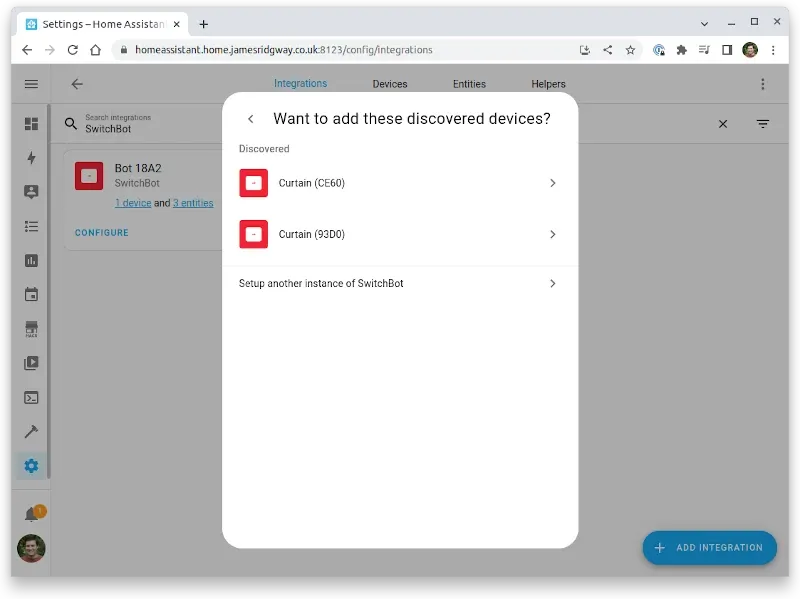
Repeat this process until you have added all of your SwitchBot devices.
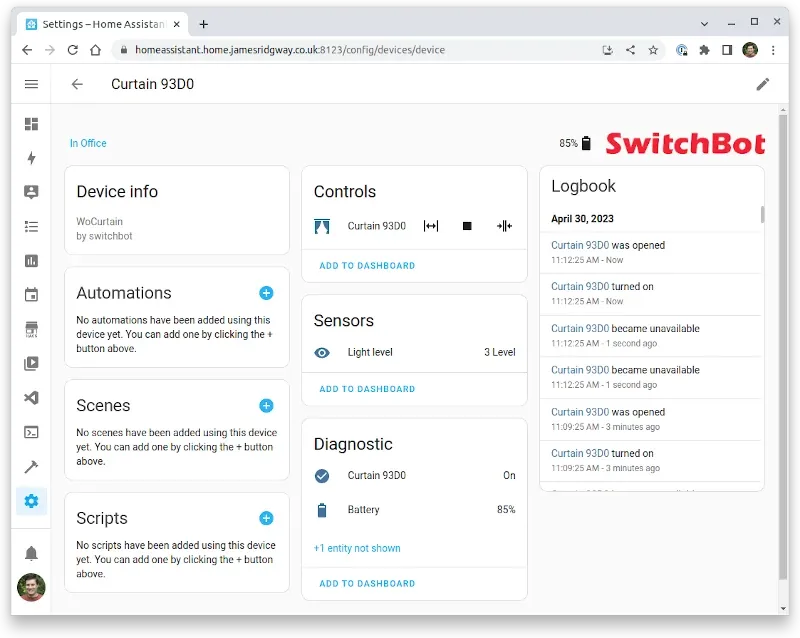
Each Curtain Rod 2 will be represented as a device within Home Assistant:
Curtain Groups
I wanted both curtains to operate as a pair. Therefore, I set up a cover group within Home Assistant.
My main configuration.yaml specifies a separate cover.yaml for all cover related configurations:
...
cover: !include cover.yaml
...configuration.yamlWith cover.yaml I have created a group for both Curtain Rod 2 devices that I have in the office:
- platform: group
  name: Office Curtains
  entities:
    - cover.curtain_93d0
- cover.curtain_ce60cover.yamlThe Automations
The automations I'm using are fairly basic; after all, there is only so much creativity you can apply to opening and closing the curtains/blinds.
The first automation ensures that the curtains and blinds are always closed at sunset:
alias: Office Sunset
description: "Close blinds and curtains on sunset"
mode: single
trigger:
  - platform: sun
    event: sunset
    offset: 0
condition: []
action:
  - service: cover.close_cover
    data: {}
    target:
      entity_id:
        - cover.office_curtains
        - cover.lumi_lumi_curtain_acn002_cover
office_sunset.yamlAnd I have a similar automation that, at the weekends, draws the curtains and blinds at sunrise:
alias: Office Sunrise Weekend
description: "Open blinds and curtains on sunrise at the weekend"
mode: single
trigger:
  - platform: sun
    event: sunrise
    offset: 0
condition:
  - condition: time
    weekday:
      - sat
      - sun
action:
  - service: cover.open_cover
    data: {}
    target:
      entity_id:
        - cover.office_curtains
        - cover.lumi_lumi_curtain_acn002_cover
office_sunrise_weekend.yamlConclusion
I have been really pleased with the Aqara Roller Shade Driver E1. The E1 is very responsive and has been working reliably for a couple of weeks by this point. Branching out from the Ajax Online Blind Engine was certainly a good move, as the E1 is cheaper and has the added benefit of being battery-powered.
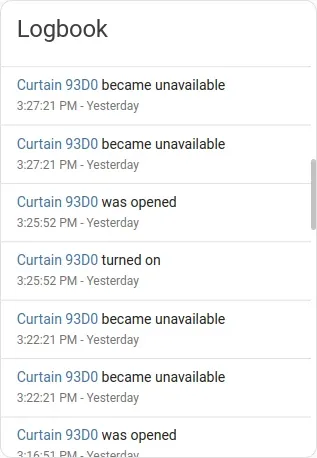
The SwitchBot Curtain Rod 2 has been another good addition to my smart home ecosystem. However, I found that this took a bit of tuning because initially, the Curtain Rod 2 wouldn't always respond to Home Assistant with the same level of responsiveness as it would from the SwitchBot app. I would also struggle with the curtains being frequently "unavailable":
I have recently transitioned from using the Bluetooth adapter built into the device running Home Assistant to using a Sabrent BT-UB40.
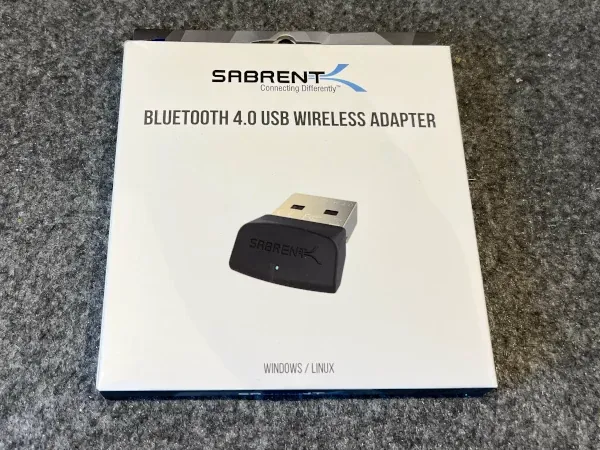
The adapter is listed as one of the known working high-performance adapters on the Bluetooth integration page for Home Assistant. Since moving to this adapter, I haven't seen the availability of the curtains drop, and the response to instructions via the UI or automation has been much better.
